Here are some tips on how you can spot the dust on your camera sensor effectively and how to remove it.
 Checking your sensor.
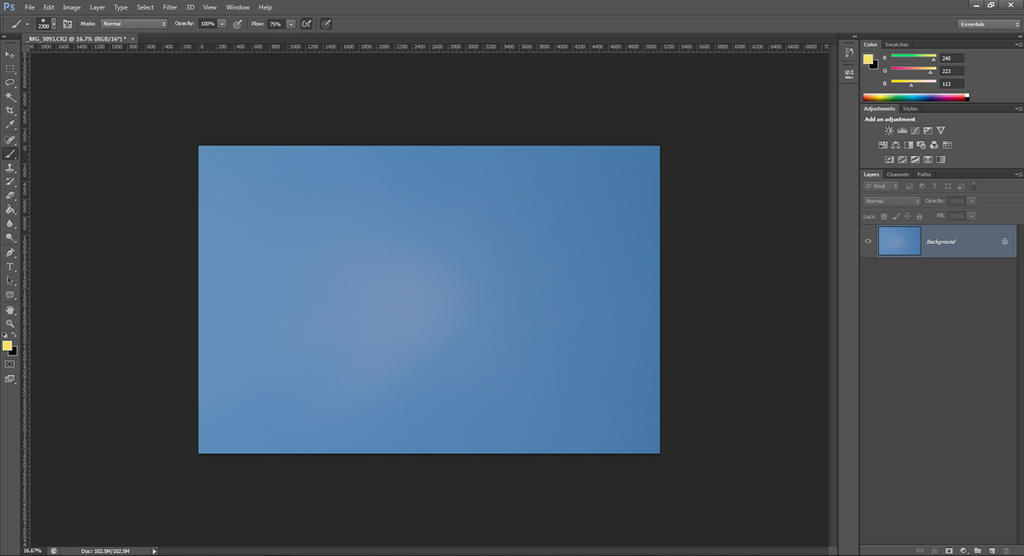
Shooting the test image
- Start off by setting your ISO to the lowest (normal) range, for example 100 for Canon and 200 for Nikon;
- The test shot has to be completely out of focus, so go ahead and manual focus to infinity on a piece of paper OR to close focus for the sky;
- Now it's time to set the aperture. It's usually okay to set your aperture at f/22, that way all the spots are well defined and ready to lift off!

- What lens to use? Usually something like a telephoto lens will do;
- RAW or JPEG? Either of them is okay, as long as you set your JPEG at the highest quality and file size;
- Shoot your test image.
Post processing the test image
- Desaturate it by going to Image > Adjustments > Desaturate or by hitting Ctrl+Shift+U for windows or Command+Shift+U for mac. You may see some spots at this point.

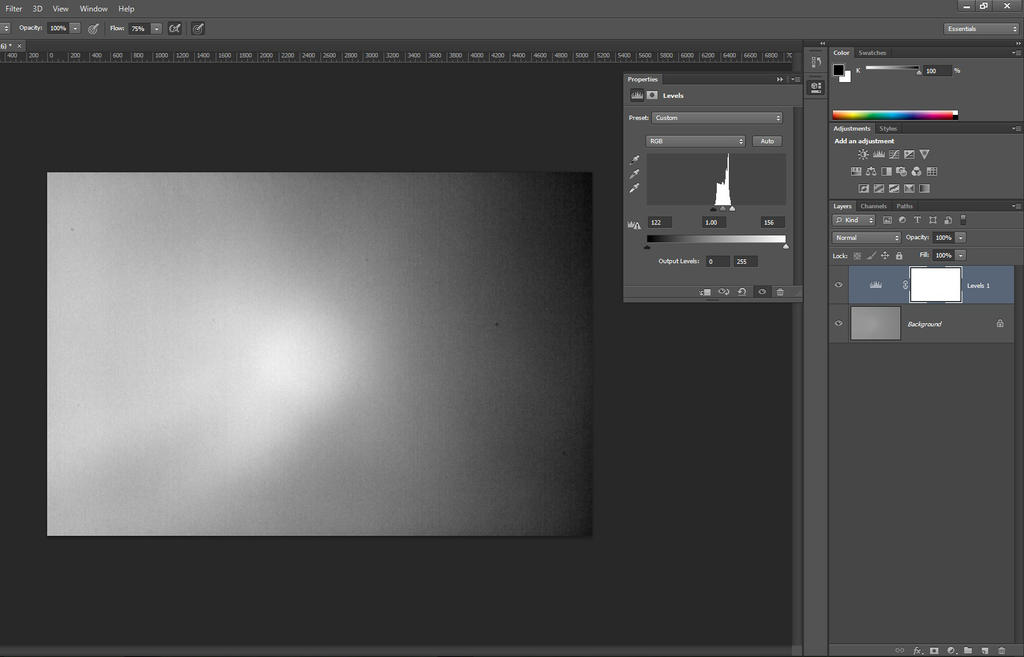
- Go ahead and make a levels adjustment layer above your background image ( you can find it either by going to Layer > New Adjustment Layer > Levels, either by clicking the black and white circle icon at the Layers panel)
- Next, let's increase the contrast by bringing in the two end sliders to meet the ends of the peak from the histogram (which represents the tonal gradient that you have captured within your image)

 Cleaning your sensor
- Important! Make sure you have a fully charged battery. You don't want to run out of battery while you're cleaning your sensor, you may damage it and the expenses are pretty high.
- Find the item in your camera menu that flips up the mirror and lets you access the sensor;
- Lay the camera down on a table and don't touch anything as you clean;
- You may want to use an air blower to remove the dust on the sensor;
- Do not use canned air;
- The image a lens projects onto the sensor is upside-down, and when the camera processes the image it is flipped right side up. So what you saw in your image has been flipped.
After that, shoot another test image and compare it with the other one to see if the spots have diminished. Sometimes they won't and that is pretty tricky because you'll have to use a special sensor-cleaning brush or swabs or solvents in order to remove the spots that still linger on the sensor.
 Final tips and tricks
- Take this matter seriously and be prepared when cleaning your sensor; you don't want to damage it and later pay for an expensive repair.
- Be sure to read the directions of the products you use very carefully.
- The products you use need to be kept very clean.
The cleaning process can be tedious, but you don't always know that when you send your camera to be cleaned it will be done in detail, with sufficient attention. And even if you do, you can always check it after it was done.
Good dust hunting! 


